
What is Wireless Debugging: A Complete Guide for iOS Development
Wireless debugging is a development technique that allows iOS developers to debug, test, and deploy applications to physical devices without requiring a physical USB connection. This technology has revolutionized mobile development workflows, enabling developers to work more flexibly and efficiently. In this comprehensive guide, we'll explore what wireless debugging is, how it works with Xcode, its benefits and limitations, and how modern solutions like LogDog can enhance your debugging experience.
Understanding Wireless Debugging
Wireless debugging, also known as "over-the-air debugging" or "WiFi debugging," enables developers to connect their development machine to iOS devices through a local network connection instead of a physical cable. This connection allows for the same debugging capabilities as a wired connection, including:
- Installing and running applications
- Real-time debugging and breakpoints
- Console log monitoring
- Performance profiling
- Memory and CPU usage analysis
- Network request monitoring
The technology works by establishing a secure connection between your Mac and the iOS device over the same WiFi network. Once connected, Xcode treats the wireless device exactly like a wired one, providing the same debugging tools and capabilities.
Setting Up Wireless Debugging in Xcode
Xcode has built-in support for wireless debugging, making it relatively straightforward to set up. Here's how to enable it:
Prerequisites
- Mac and iOS device on the same WiFi network
- iOS device running iOS 9.0 or later
- Xcode 9.0 or later
- Device must be trusted (previously connected via USB)
Step-by-Step Setup
1. Initial USB Connection: First, connect your iOS device to your Mac via USB cable. This step is crucial as it establishes the initial trust relationship.
2. Enable Wireless Debugging: In Xcode, go to Window → Devices and Simulators (or press Shift + Cmd + 2). Select your connected device and check the "Connect via network" checkbox.
3. Disconnect USB: Once the wireless connection is established (indicated by a network icon next to your device), you can safely disconnect the USB cable.
4. Verify Connection: Your device should now appear in Xcode's device list with a network icon, confirming the wireless connection is active.
Benefits of Wireless Debugging
Wireless debugging offers several significant advantages for iOS developers:
Enhanced Mobility
Developers can move freely around their workspace without being tethered to their Mac. This is particularly valuable for testing location-based features, camera functionality, or any app that benefits from physical movement during testing.
Improved Testing Scenarios
Wireless debugging enables more realistic testing scenarios. Developers can test apps in different environments, test network connectivity in various locations, and simulate real-world usage patterns more effectively.
Reduced Cable Management
Eliminating USB cables reduces desk clutter and eliminates the risk of cable damage or connection issues. This is especially beneficial in development environments with multiple devices.
Better Team Collaboration
Multiple developers can easily switch between devices without physical cable management, making it easier to share devices and collaborate on testing.
Limitations and Challenges
While wireless debugging is powerful, it comes with some limitations:
Network Dependency
Wireless debugging requires a stable WiFi connection. Network issues, interference, or weak signals can cause connection drops or performance degradation.
Security Considerations
Since debugging occurs over a network connection, there are potential security implications. The connection should only be used on trusted, secure networks.
Performance Overhead
Wireless connections may introduce slight latency compared to USB connections, which can affect real-time debugging performance, especially for resource-intensive operations.
Initial Setup Complexity
The initial setup requires a USB connection, and the process can be finicky. Some developers report issues with connection stability or devices not appearing in Xcode's device list.
Advanced Wireless Debugging Techniques
Multiple Device Management
Xcode allows you to connect multiple devices wirelessly simultaneously. This is particularly useful for testing across different device types, screen sizes, or iOS versions.
Network Configuration
For optimal performance, ensure your WiFi network has:
- Strong signal strength (5GHz preferred over 2.4GHz)
- Low latency and minimal interference
- Sufficient bandwidth for debugging data
Troubleshooting Common Issues
Device Not Appearing: Try reconnecting via USB and re-enabling wireless debugging. Restart both Xcode and the device if necessary.
Connection Drops: Check WiFi signal strength and network stability. Consider moving closer to the router or using a different network.
Performance Issues: Close unnecessary network applications and ensure your Mac and device have sufficient resources available.
Beyond Xcode: Modern Debugging Solutions
While Xcode's wireless debugging is powerful for development, modern mobile development often requires more comprehensive debugging and monitoring solutions, especially for production apps and team collaboration.
Production Debugging Challenges
Traditional debugging methods have limitations when it comes to production apps:
- No access to user devices for debugging
- Limited visibility into real-world performance
- Difficulty reproducing issues reported by users
- Challenges with remote team collaboration
LogDog: A Modern Solution for Remote Debugging
LogDog addresses many of the limitations of traditional debugging approaches by providing a comprehensive remote debugging platform that works seamlessly with wireless development workflows.
Key Features
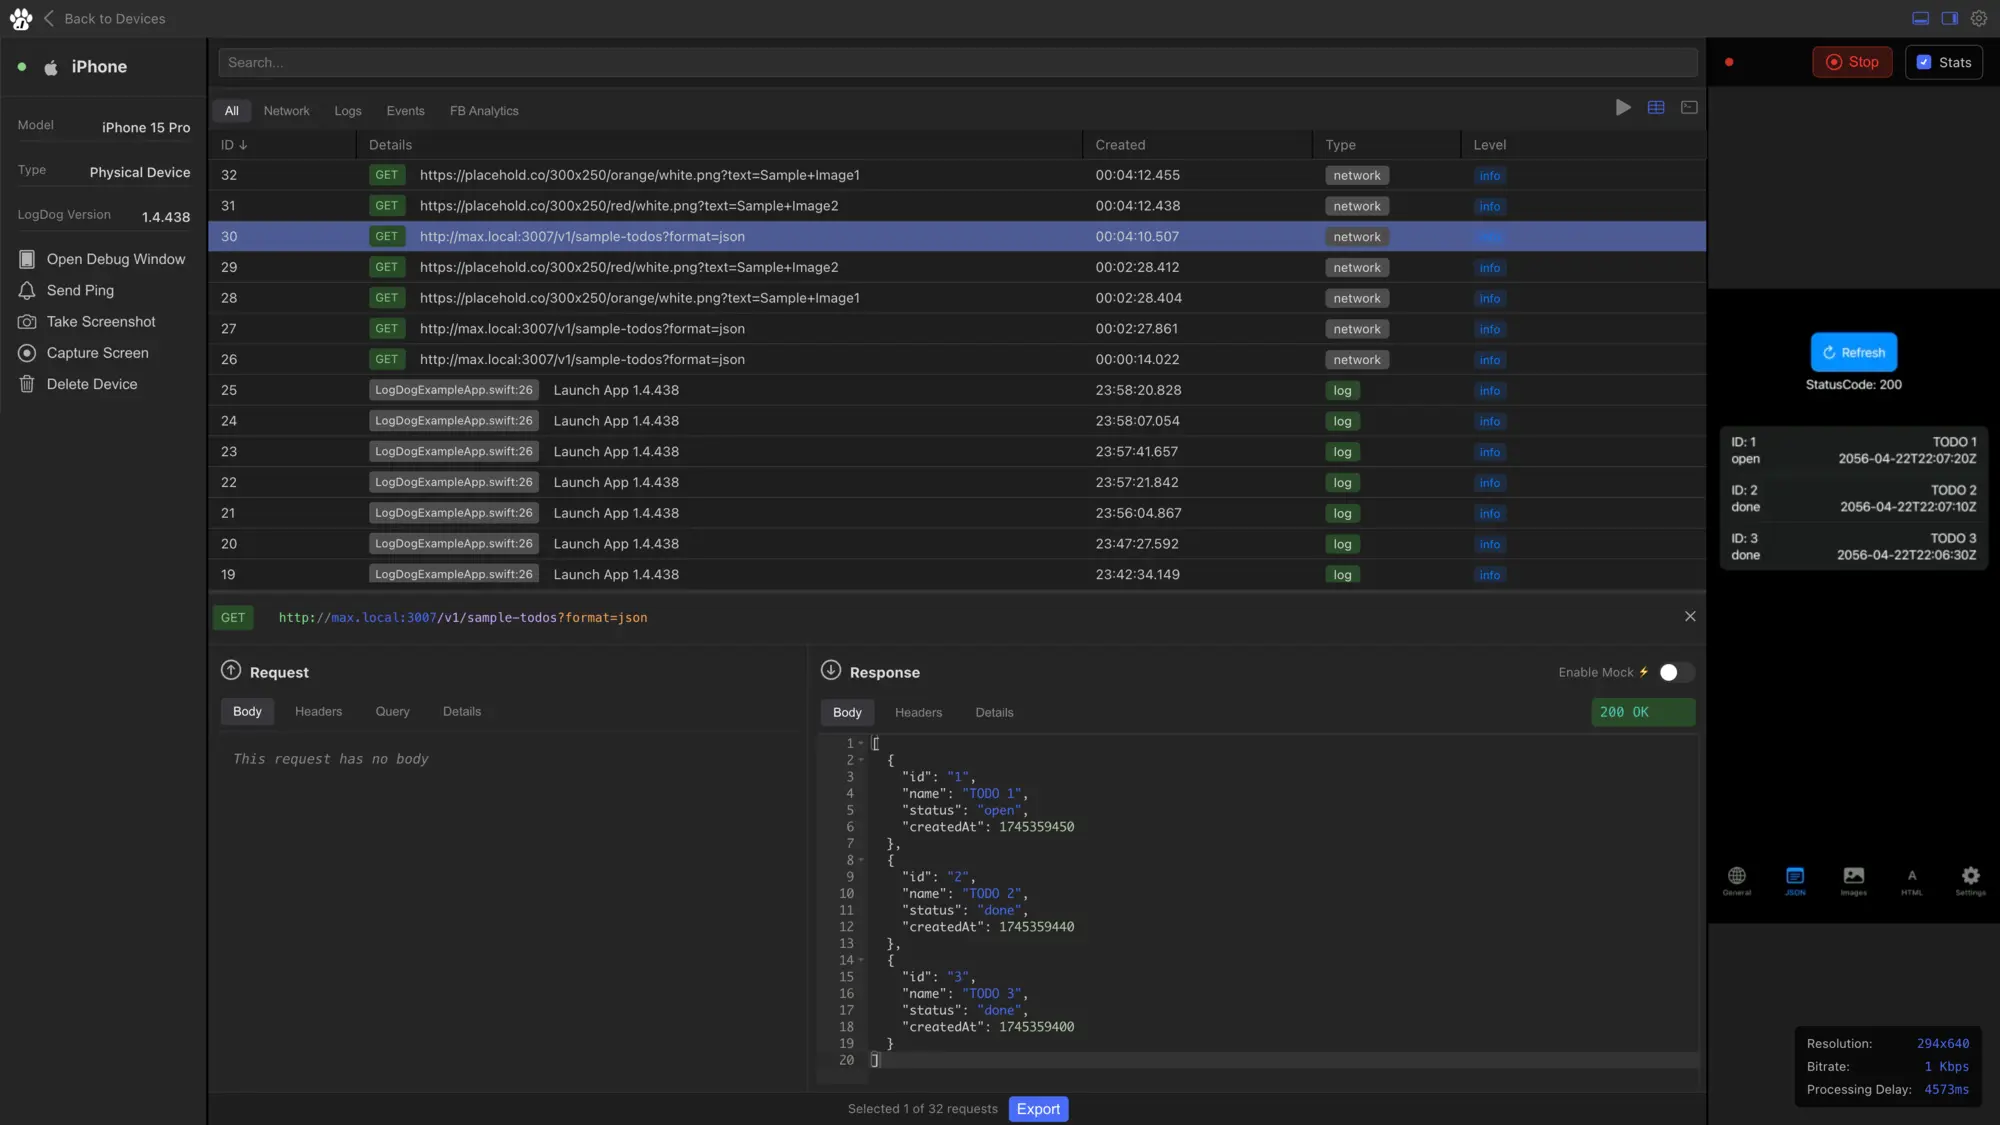
- Real-time Remote Logging: View logs from any device, anywhere, without physical access
- Network Request Monitoring: Track API calls, responses, and performance metrics
- Session Replay: Record and replay user sessions to understand issues
- Team Collaboration: Share debugging sessions with team members
- Cross-platform Support: Works with both iOS and Android applications
Integration with Wireless Development
LogDog complements wireless debugging by providing:
- Persistent logging that survives app restarts
- Remote access to debugging information
- Production environment monitoring
- User session analysis and replay
- Team-wide debugging collaboration
Getting Started with LogDog
Integrating LogDog into your iOS app is straightforward:
import LogDog

@UIApplicationMain
class AppDelegate: UIResponder, UIApplicationDelegate {

    override init() {
        super.init()
        LogDog.initialize()
        let config = LogDogConfig(apiKey: "YOUR_API_KEY", logs: true, network: true, events: true)
        LogDog.start(config: config)
        LogDog.i("Hello from LogDog!")
    }
}

// Log messages with different levels
LogDog.d("Debug message")
LogDog.i("Info message")
LogDog.w("Warning message")
LogDog.e("Error message")

// Log with additional context
LogDog.i("User action performed", data: ["userId": "123", "action": "login"])
Best Practices for Wireless Debugging
To get the most out of wireless debugging:
Network Setup
- Use a dedicated development network when possible
- Ensure strong, stable WiFi signal
- Consider using 5GHz networks for better performance
- Keep devices and Mac on the same network segment
Development Workflow
- Use wireless debugging for active development and testing
- Fall back to USB for initial setup or troubleshooting
- Combine with remote logging solutions for comprehensive debugging
- Test network-dependent features thoroughly
Security Considerations
- Only use on trusted, secure networks
- Disable wireless debugging when not needed
- Be cautious about debugging on public networks
- Consider VPN usage for additional security